Getting Started
Ark: Survival Evolved
Getting Started in Ark: Survival Evolved is not an easy matter. This is especially true if you're still fairly new to the game. There are a few things that you should do right away, along with a few things that you should avoid for a while. This guide will show you the ins and outs of starting your adventure and surviving the first few days.

The First Things To Collect & Craft
The very first thing that you will need is your Stone Pick. It requires wood, thatch, and stone (mostly thatch). This is because you will need to use your Stone Pick to mine flint, so that you can make a torch and a campfire. An even more important reason is the damage you take trying to harvest resources by hand. Things like fibre, berries, and loose stones are harvested by hand. You'll want to have a stone pick for the flint.
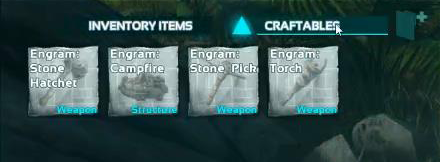
Trees are a different story, and you will take damage from harvesting these by hand. Even worse than that is the increased food and water you require to heal as a result of your injuries. After you have your Stone Pick, you'll want to craft yourself a Stone Axe and a Campfire. A Torch should also be on this list.
Safe vs Dangerous Areas
The beach can be a dangerous place. But if you travel very far inland you'll be dino food fast. Or maybe that should be dino fast food! The trick here is to know which water areas are the most dangerous. The coast is not as dangerous as a river. While there are dinosaurs that will come out of the ocean and possibly harass or eat you, the rivers are far more dangerous. Think giant prehistoric crocs.
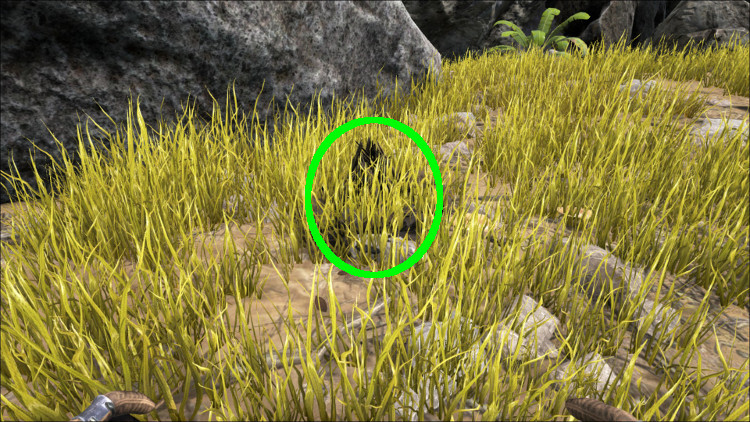
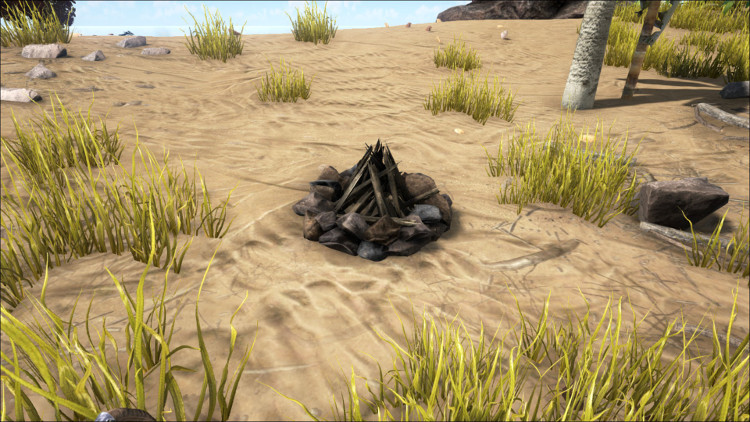
So, where to live? When you are first getting started, I would suggest that you make your way off the beach to an area just behind where the grass and trees start. This isn't more than a touch off of the beach, but it should be far enough to avoid the dangers of the water. Before you settle on a spot,observe it a bit to make sure there aren't any dangerous dinos in the immediate area. Also make sure it is a place you can't miss. When all you have is a campfire it can be hard to spot, especially in the grass.
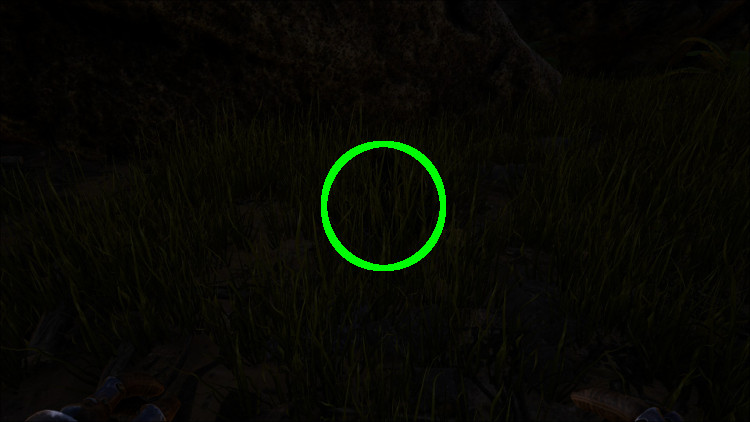
These next three screenshots show both a bad location for a campfire and a better one. The first shows the bad location during the day. It is nearly impossible to see. The second one shows it at night. You might not even be able to make it out. And the third one shows a campfire in a much better location only a few feet away.
Getting The Most Out Of Your Basic Equipment
While an axe is clearly for cutting trees, it may not always be the best tool for the job. Cutting a tree with an axe will produce almost only wood and very little, if any, thatch. The reverse is true if you cut a tree with a pick. You'll get mostly thatch and very little, if any, wood.
The pick, of course, is also very useful for mining stone, flint, and metal. This is probably your most used tool very early in the game. As for the torch, it can provide you with light and heat. You don't want to allow yourself to get too cold. Your food and water consumption spike if you are too hot or cold. You can use your torch to keep warm if you are exploring or don't have your campfire handy.
To complete your toolset you'lll also want to craft a Spear. This is only useful for hunting and fighting. While it can be used for other purposes, it won't do very well and it will break quickly.
Basic Clothing / Armor
Early in the game, all you have access to is cloth clothing. It takes a ton of fibre. The shoes and gloves also require hides. Getting at least a shirt and pants very early on are a must. These will provide you with both protection from harm and the elements.
In short, you will want your cloth clothing fairly quickly. It makes a very big difference to your chances of survival, because it is difficult to survive.
Initial Food Collection And Hunting
Before you have a Cloth Shirt, Cloth Pants, and a Spear, you'll pretty much be stuck eating berries. If you get lucky you might find a Dodo you can kill with either your fists or your pick. Don't bother trying to take on a Dillo until you have a spear. They spit poison and are very fast. Not to mention that their poison pretty much blinds you, which makes them even harder to kill.
As far as butchering an animal goes, I've found the axe tends to perform best. This seems to yield the highest amount of meat and number of hides. It also seems random as far as what and how much you get. Sometimes you get a bit of both, and sometimes you get only meat or hides. One factor that you should keep in mind is that if you hit the animals mostly in the head you'll get more hides and meat. Too much body damage ruins the yield of meat and hides.
Cooking the meat in a campfire is also critical. It's not very healthy to eat raw meat and it spoils very quickly. Cooked meat will actually last dramatically longer. So make sure you cook any meat you collect soon after you've butchered the animal. Also keep in mind that you are better off only hunting what you need at the moment. Meat spoils so quickly it's actually easier to run out of food if you hunt too much meat all at once.
A final note on things spoiling. Meat, cooked or raw, does spoil in your inventory even if you have logged out. So if you log out with 5 meat in your inventory, you'll find that they turn into 5 rotten meat when you log back in. If you do have surplus meat when you are almost ready to log out, your best bet is to eat until you are full and then try to trade the rest of the food with other players. Even 5 wood is better than 5 rotten meat. After all, anything is better than nothing. Later in the game rotten meat can be used for some crafting, but that is a long way off from the starting point.
Water & The Waterskin
Along with food, water is another critical item. Getting a drink of water is a pretty easy matter. Simply walk into water about ankle deep and press E. This will fill up your water. Standing in the rain also slowly replenishes your water.
Once you have made a waterskin, this will make your life so much easier. Put the waterskin in your quick slot and get into the water. You don't have to go in very far. Stop the moment your waterskin lights up in your quick slot. Then press the number associated with the quick slot. Eg: If you put it in slot 6, just press 6. This will fill your waterskin and fill your own water need. After this all you have to do is press 6 whenever you are thirsty. Of course, the actual number you will use is dependent upon the quick slot in which you put the waterskin.
Sleeping Bags, Beds, & Your Spawn Point
By sleeping in a Simple Bed you can set your spawn point. To make this, first you'll need to get the Engram for a Sleeping Bag. I couldn't tell you why, but a sleeping bag is a single-use item. It is also resource intensive in the early game. Your best bet would be to wait until you have the Engram for the Simple Bed and make that. Of course if you have travelled far from your initial spawn point, a sleeping bag may be worth the resources so that you can set your spawn point to a more useful location.
Do keep in mind that it takes a while before you can make a sleeping bag or a simple bed. Your best bet in the early stages is to set up your camp fairly close to your chosen spawn location. This way if something does happen you can find your camp quickly and easily.
Trees And Bushes Do Regrow, But...
Trees & shrubs will respawn if you have harvested them. There are three factors that affect the regrowth.
Time is one of them. While the developers have dramatically reduced the respawn time for these resources, it still takes as much as a few real hours. You'll need to be patient. Though, sometimes leaving an area for a short while will cause some things to respawn quickly.
The second factor is the presence of structures. Regrowth will not happen too close to structures. So don't expect anything to grow back too close to your home. This is actually a good thing, since it means that you won't have a tree growing up through your house. The cleared area around a base can also be helpful in that it keeps the area a bit safer and allows you to see much more clearly, especially at night.
The third factor is the presence of people. In other words, don't go back to the area you've cleared until after it has regrown. If you do, the regrowth timer will reset. This means that it will take another full 6-8 hours from the time you leave the area again. This is another rather helpful feature that prevents your base from becoming overgrown. It also means you have to think and plan a bit when it comes to resource harvesting.
Supply Drops & Obelisks
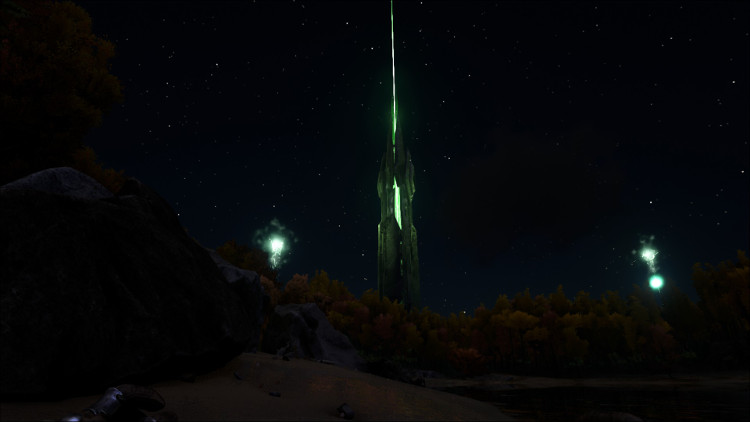
Obelisks are used by players to transfer their characters and dinos between servers. They are usually located in dangerous areas. You can see the large obelisk floating in the sky to the left in the screenshot below. Simply approach the base of the Obelisk and access the terminal to use it.
The Obelisk is also used to summon the Broodmother, which was the former dominant creature on the Ark. This requires a lot of resources and is a very tough fight.
Supply Drops are shown by shafts of light as seen in screenshot below. Different colors indicate what level is required to open the supply crate.
A Handy Trickle Of More Advanced Resources
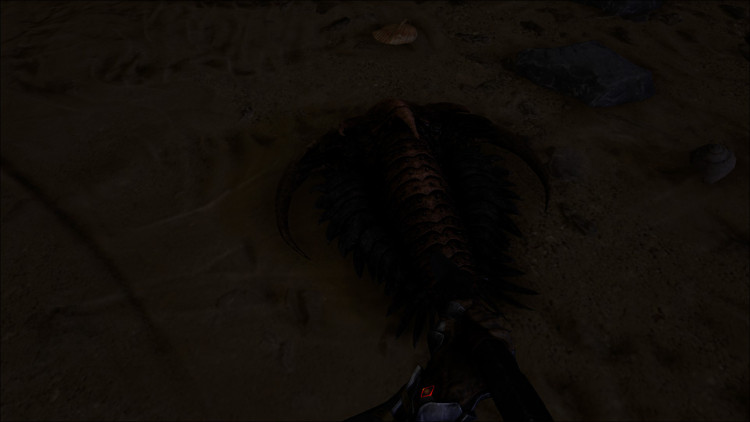
Another thing to keep an eye out for is the Trilobite. It is found near or in water. The Trilobite is a passive creature. It can also be a bit hard to kill due to its hard shell. Use a spear or pike to kill and harvest it. It doesn't drop much, but what it can drop is interesting. Along with the possibility of some Raw Meat, you can also get some Chitin, Oil, or Silica Pearls.
The Fast-Moving Meat Pinata
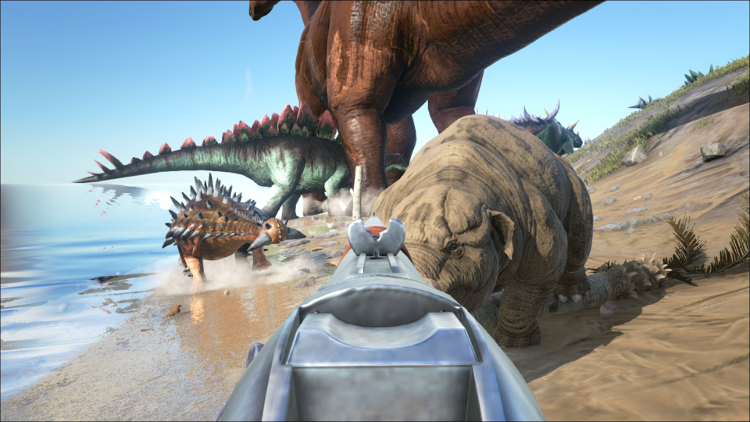
The Phiomia is a docile creature that is a virtual Raw Meat Pinata. You'll get hides too, but this thing is worth a lot of Raw Meat. I had it drop 10-20+. So if you're looking for a good amount of Raw Meat, this is your ticket. Do keep in mind that it runs really fast when you hit it!
The Rockwell Recipes are the key here. Some will act as the equivalent of healing potions and some will protect you from heat or cold. Others still will allow you to hold your breath really long for those underwater adventures. These do require a Cooking Pot to create, but they are more than worth the effort. Keep in mind that some of these may also require Farming to get the Veggies they require. However, many of them can be produced with basic items in a cooking pot.
Customizing & Balancing Ark
The thing to keep in mind about Ark is that out of the box it is not balanced for Single Player or Small Groups. But there are tons of customization options that allow you to balance Ark to your playstyle and group size.
I'm not talking about modding here either. The power of customization is in the settings files where you can very easily adjust dozens of aspects of the game and how it plays. These are options made available by the devs for the purpose of players being able to tweak Ark for maximum enjoyment.
Another thing to keep in mind is that almost all settings for Dedicated Servers also apply to Single Player and Non-Dedicated Sessions. The only difference is where you will find the text configuration files.
I've put together a list of the settings with explanations, as well as a handful of tools that make customizing these settings fast and easy. There is also a page that goes into detailed explanation of what customization can do for you as well as where to find the files you need to edit.
Balancing Ark
Customization Tools
Dedicated Server Settings

