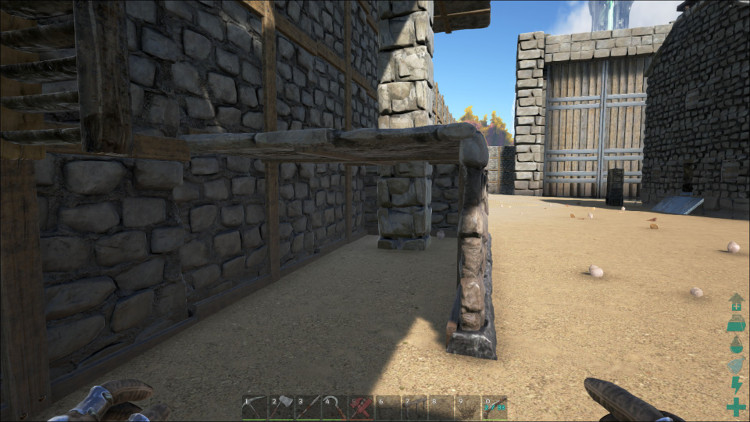
Defensive Walls & Dino Gates
Ark: Survival Evolved
This guide covers the building of defensive walls and Dino Gates in Ark: Survival Evolved. Also included are tips and tricks to help you get your walls and gates installed quickly and easily. The example used is the building of a Dino Pen with a Dino Gate.
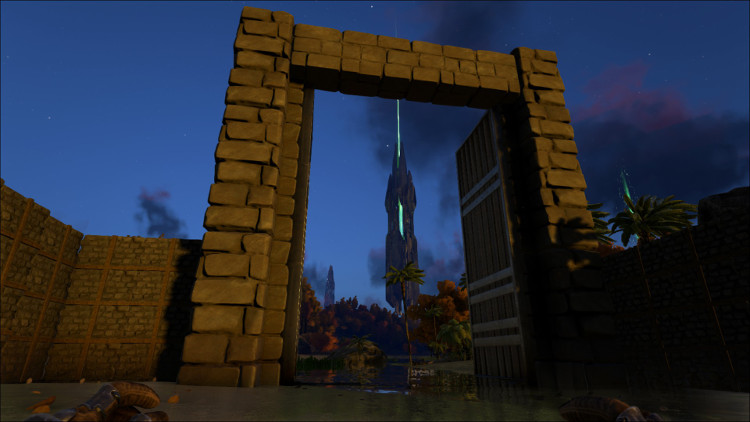
The Dino Gateway and Gate
It is often easiest to start by placing the gateway and gate. Make sure the outline is facing the direction you want before placing it. That is an expensive part to demolish. I have found that standing where you want the inside to be, and looking out, is the best way to get the gate placed correctly.
Once you have the gateway in place, the gate itself will just snap right into the gateway. That part, at least,doesn't usually cause a problem. These gates are supposed to be usable while mounted. In practice at this time, however, I often find that I must dismount to close the gate after exiting. Opening the gate to come in or go out is usually not a problem.
Another thing to keep in mind is that you may want to install the actual gates into the gateways as your last step. Should you run into problems building the walls etc, and then need to move that gate, it's expensive enough without having to demolish both parts. I've taken the habbit of putting the gates into the gateways only once everything else is done.
The Fence Foundations & Walls
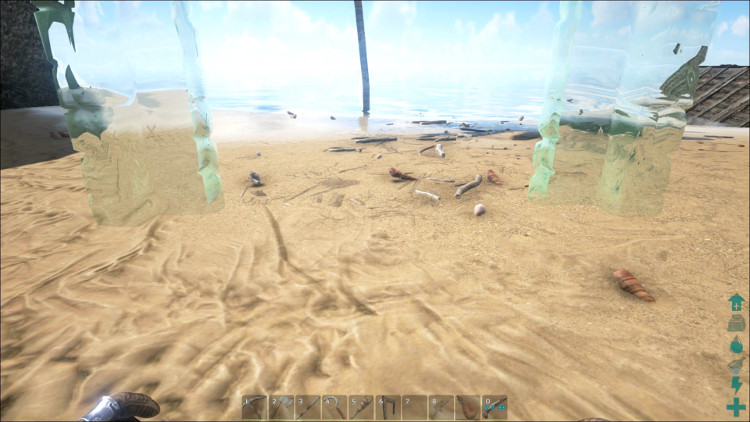
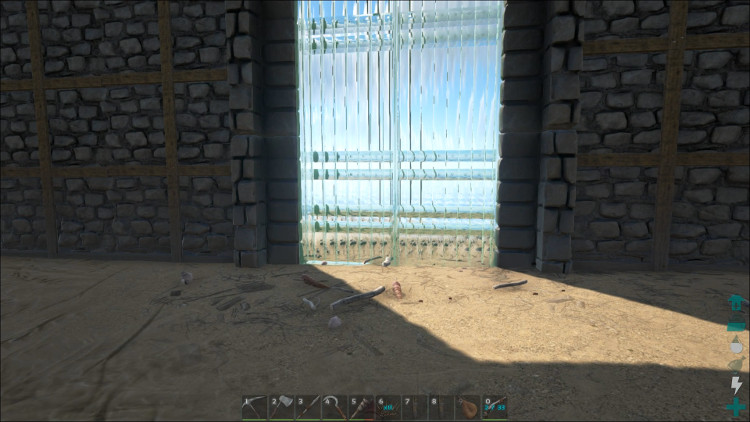
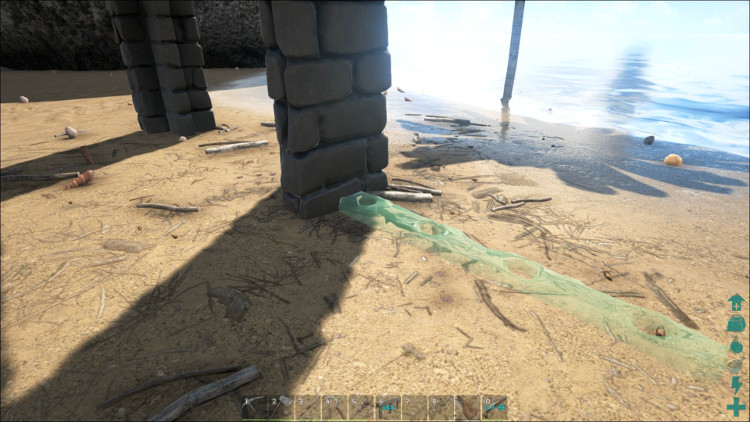
Next you'll want to install the fence foundations, and then the walls. Because of the rather unstable placing mechanism at this time, I recommend that you only place one foundation segment at a time. Be very careful to make sure they all line up. I've had them 'snap' into place but in reality they were just a bit off being lined up and that caused a big section of my wall to be out just a little.
The placement of the foundations is now far smoother and more stable than it was before. And if you are careful and pay close attention while placing wall segments on the foundations you'll see if they are going to place facing the right direction. If not, just press E and you'll be able to flip the wall segment the right direction. Of course, you must do this before you place the wall or you'll have to demolish the wall and replace it with one that is facing in the right direction.
Placing A Behemoth Gateway
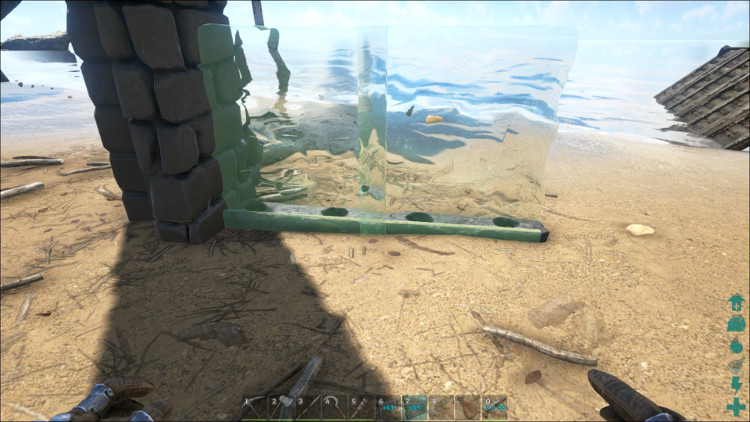
Because of the way the snap points work at this time you really need to place fence foundations first before you place the Behemoth Gateway. This is the only way you can be sure that it will line up with your walls. Otherwise you can end up making quite a mess trying to close off your walls completely.
The Closing Segments
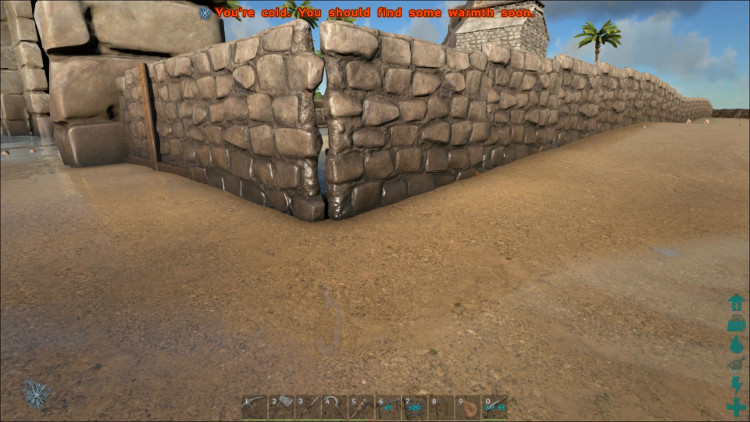
The corner to close the wall will need to match perfectly. These walls have no smart snapping or shaping at this time. If a segment is out just a hair it may not connect and may refuse to place. You'll want to make sure you keep your corners perfectly square and count out the sides exactly.
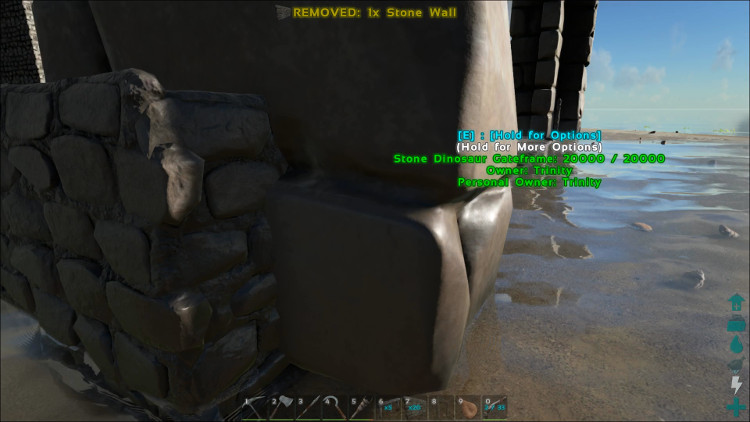
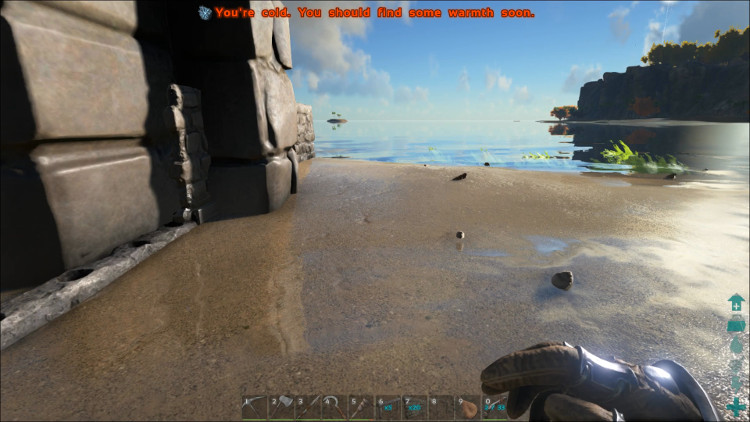
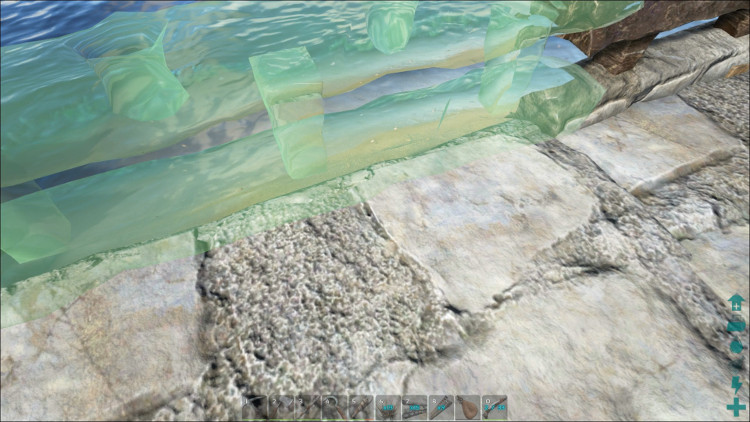
There are cases where even if the corners snap together you'll still end up with a small visible gap. This small gap should not be a problem. People shouldn't be able to glitch through a tiny visual gap, nor should wild Dinos be able to glitch through. Keep in mind, the gap I show below is on fence foundations that had snapped together just fine.
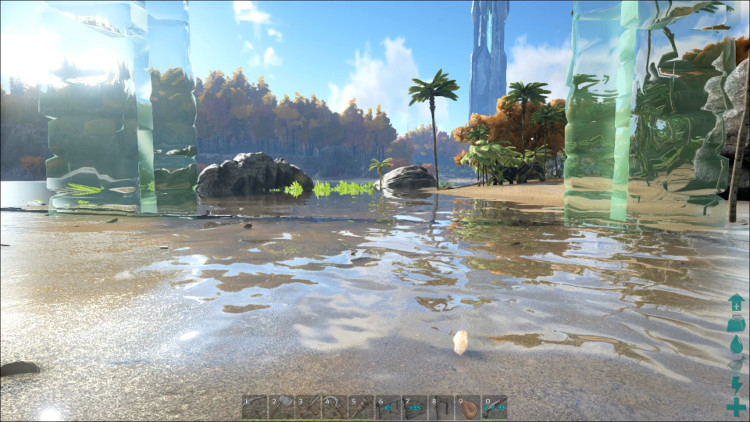
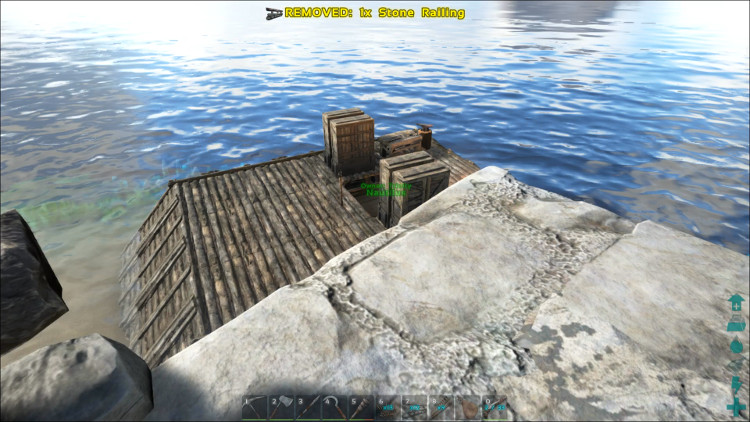
Also keep in mind that with the way snap points are setup on the Behemoth Gateway at this time you'll probably end up with your walls passing through a small portion of the gate as shown below. It looks kinda dumb, but the walls passing through like that ensure at least that it is sealed tight and because they don't stick out far enough to block the actual opening it won't be a problem.
Also keep in mind that with current clipping issues you should not use natural features as part of your wall. If, for example, you use a rock face as a wall along one side of your base, it is very easy for an intruder to glitch past the rock wall into your base. For an effective wall you must enclose all four sides of your base and make sure that the corners meet up properly. And yes, this is a glitch that will be fixed at some point.
Using Pillars, Hatch Frames, & Ladders For Walltop Walkways
Depending on how high your walls are you may need to install more than one Hatch frame on your Pillars so that you can get up to the top the first time. The pillars will snap into the correct place next to the wall if you are patient and you'll be able to line up your walkway with relative ease.
Once you have reached the top of your wall and the upper most Hatch Frame is installed you should be able to remove the lower Hatch Frames without trouble. Just make sure you ladder goes all the way to the top with no gaps first.
Railings, Turrets Placements, & Spiked Walls
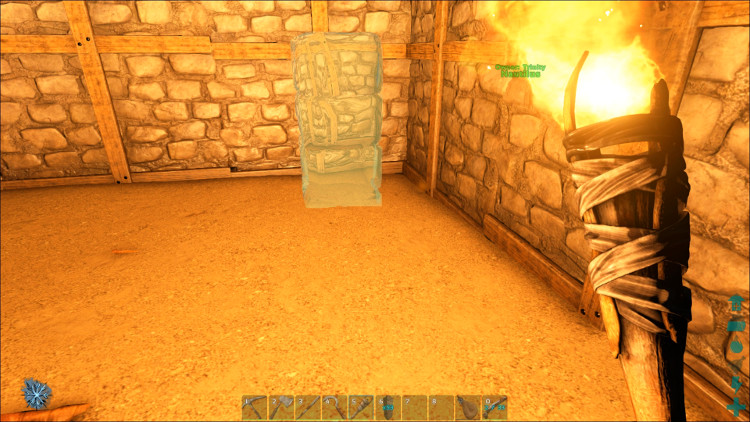
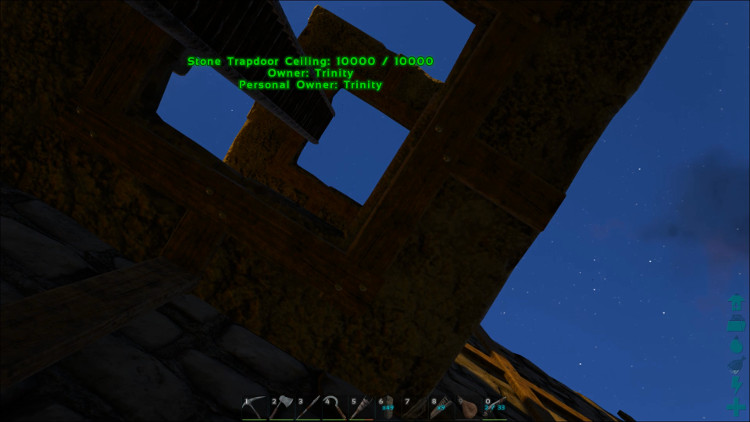
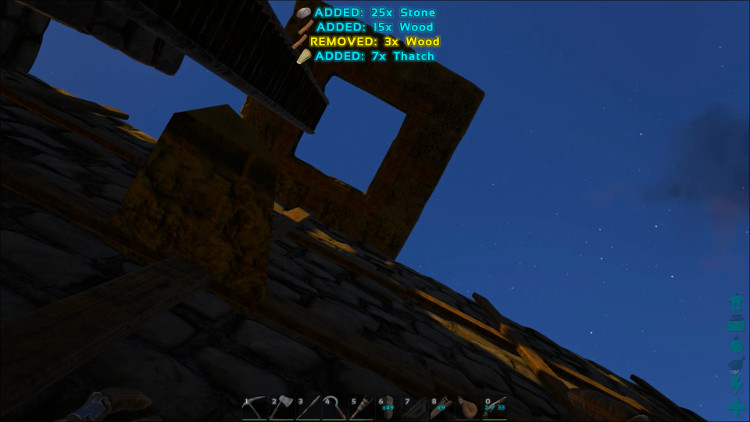
Railings along the tops of the walls not only make it look more finished, they can also provide some extra protection. The trick here is that they can also block turrets from shooting down if you're not careful. And if you're short on space you can also block your ability to place the turret itself. Test and be prepared with extra resources just in case you have to add some additional space or move a few railings.
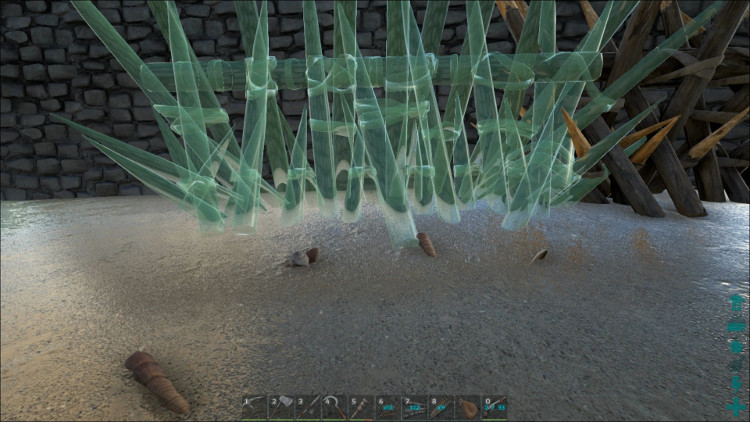
Spiked Walls, especially the Wooden Spiked Walls aren't the costly to make and they can add that extra something special to your perimeter. The thing to remember is that you can hurt yourself and your Dino on these depending on server settings. This sword cuts both ways. Keep that in mind. With that warning said they can be quite useful to add a little extra solidity to the outter wall or a nasty surprise inside your walls.
One last thing to keep in mind is that the Metal Spiked Wall is not any more solid than a Stone structure. They can be destroyed by the same means as any stone structure in Ark. So don't forget that!
Wall Glitch Grief Reduction
No warranty implied, but you may be able to reduce or stop the wall turret wall glitch exploit. These exploits keep poping up, and yet there is a way to stop them. First, one of the biggest causes of this kind of exploit is well.... those walls are silly thin to start with LOL. Now this will sound like work, and a pain, and a lot of resources, but it should do the trick.
What you need is a thicker wall. Of course work is always being done to fix these exploits, but if you're getting butchered by them then the time to stop the problem may just be now. Build a double thick wall. Yes, expensive. Even go as far as to line it with pillars and ceilings all the way up if you have to. This should provide enough colision checks to prevent those turrets from glitching through and still firing. One layer should be enough, though if you're really worried, two will do the trick.
